
3D printing of parts for PP tanks”
2026-08-29
- Why 3D printing parts for PP tanks is not just prototyping, but an industrial solution
- Technical requirements for material and equipment for printing with polypropylene
- Manufacturing Methods Comparison: 3D Printing vs. Casting and Machining
- Practical application scenarios in industry and chemical processing
- Guidance on sealing and post-processing of printed parts
- Economic justification and calculation of the payback of implementing 3D printing
- Frequently Asked Questions
- Conclusion and recommendations for choosing a service provider
Why 3D printing parts for PP tanks is not just prototyping, but an industrial solution
Direct answer to your request: yes, additive manufacturing allows you to create functional units, pipes and repair elements for polypropylene containers that can withstand aggressive chemical environments and temperatures up to +95°C. In our practice, we are faced with the fact that many engineers mistakenly consider 3D printing a method only for visual models, missing the opportunity to save up to 60% of the budget on tooling for small-scale production or urgent repairs of pipeline fittings. The key point here is the correct choice of material (PP homopolymer or PP-R copolymer) and the orientation of the layers during printing, since these are the factors that determine the tightness of the finished product.
When the operating environment temperature exceeds 45°C, traditional bonding or mechanical fastening methods often fail due to the different coefficients of thermal expansion of the materials. We have seen cases where the wrong adhesive has failed a flange joint within three weeks of service, causing acid leaks and line downtime. 3D printing of parts for PP tanks solves this problem due to the solidity of the structure: the part is printed as a single unit without weak points in the form of adhesive seams. However, there is a nuance - anisotropy of strength. A part printed vertically will have different tensile strengths along the X, Y and Z axes, requiring careful load calculations before going into production.
This article is based on real experience in the implementation of additive technologies in the chemical and petrochemical industries of the CIS countries and Europe. We will not use general phrases about the “future of technology”, but will analyze specific extrusion parameters, post-processing and economic feasibility. Whether you're looking for a quick way to replace a broken fitting or make a batch of custom tank fasteners, the tips below will save you time and money.
Technical requirements for material and equipment for printing with polypropylene
Polypropylene (PP) is considered one of the most difficult thermoplastics for additive manufacturing due to its high cooling shrinkage and tendency to warpage. Unlike PLA or PETG, this material requires strict temperature control of the chamber and table. For successful3D printing of parts for PP tanksEquipment is required that can maintain the nozzle temperature in the range of 220–240°C and the table temperature at least 100–110°C. Ordinary open printers will not work here: the absence of a thermal camera will lead to delamination of layers already in the first centimeters of the height of the part.
The most important parameter is the type of polypropylene used. For tanks in contact with aggressive media (acids, alkalis, solvents), we recommend using PP-H homopolymer. It has maximum chemical resistance, but is more fragile under shock loads at low temperatures. If the tank is intended for hot water or food products, it is better to choose a random copolymer PP-R. This material has improved impact strength and heat resistance, which is critical for hot water systems. In one of our projects, the client insisted on using a cheap homopolymer for a hot water tank, which led to the formation of microcracks in the weld area after two months of use.
Adhesion of the first layer is another sore subject. Polypropylene does not adhere well to standard surfaces such as glass or PEI. Our experience shows that the best results are achieved by using specialized PP sheets for the table or a combination of PVA glue (as a separating layer) and heating the table to 115°C. Airflow to the part is also critical: unlike ABS, PP does not like active cooling by fans. Forced airflow should be turned on only at a height of 5–10 mm from the table and the power should be set to no more than 30%, otherwise the part will come unstuck or bent.
Print speed also affects quality. To obtain sealed parts that do not require additional impregnation, the speed should be reduced to 20–30 mm/s. This increases production time, but provides better fusion of layers. An attempt to speed up the process to 60 mm/s often results in the appearance of micropores between the extruder tracks, through which liquid under pressure can leak. Remember: the goal is not speed, but chemical tightness and mechanical integrity.
Manufacturing Methods Comparison: 3D Printing vs. Casting and Machining
When choosing how to make tank components, engineers often hesitate between traditional methods and additive manufacturing. To make an informed decision, it is necessary to compare these approaches on key parameters: tooling cost, lead time, geometry complexity and mechanical properties of the final product. Below is a detailed comparison table based on real production cases.
| Comparison parameter | 3D printing (FDM/FFF) | Die casting | CNC machining (from PP sheet) |
|---|---|---|---|
| Startup cost (equipment) | None (model file only) | High ($2000–$10000 per mold) | Low (machine programming) |
| First batch production time | 1–3 days | 4–8 weeks (mold making) | 3–5 days |
| Economic efficiency | Cost effective for 1–100 pcs. | Beneficial for 1000+ pcs. | Advantageous for simple shapes, 1–50 pcs. |
| Geometry complexity | Any (internal channels, complex cavities) | Limited to demoldability | Restricted by cutting tool access |
| Mechanical strength | Anisotropic (depends on layer orientation) | Isotropic (same in all directions) | Isotropic (retains sheet properties) |
| Sealing without post-processing | Requires parameter settings or impregnation | Absolute | Absolute (monolithic material) |
Consider a situation where you need to produce a batch of 20 custom adapters for an acid tank ventilation system. In this case, injection molding is not economically feasible: the cost of the mold will exceed the budget of the entire project, and the waiting period for the mold will delay the installation of the system by a month. CNC machining is possible, but if the adapter has a complex internal shape with stiffening ribs, then a multi-axis machine and many part settings will be required, which will dramatically increase the cost of the work. 3D printing of PP tank parts in this scenario becomes the only rational choice, allowing you to get finished products in 48 hours without the cost of tooling.
On the other hand, if we are talking about mass production of standard manhole covers with a circulation of 5,000 pieces per year, 3D printing will lose to casting in terms of unit cost. The printing time for one cap can be 10 hours, while the casting cycle is 45 seconds. Here, additive technology is only appropriate for creating a prototype before ordering an expensive mold to check the ergonomics and fit dimensions.
It is also worth noting the limitation of 3D printing under high pressure conditions. If the tank part will operate under constant pressure above 2-3 bar, cast or turned polypropylene is preferable due to its isotropic structure. The printed part may delaminate under cyclic loading. However, for atmospheric tanks, ventilation systems and gravity-flow containers, the strength of FDM printing is quite sufficient provided that the infill is correct (infill) of at least 40–60%.
Practical application scenarios in industry and chemical processing
In actual use3D printing of parts for PP tanksis used in two main scenarios: prompt repair of failed equipment and production of non-standardized fittings. Let's look at specific examples from our practice where the use of additive technologies made it possible to avoid long downtime.
Case 1: Restoring broken fastening lugs on a chemical container.
An incident occurred at a fertilizer production plant: while dismantling an old 5 cubic meter container. meters, one of the four mounting lugs, through which the tank was attached to the frame, broke off. Ordering an original spare part from the manufacturer would take 6 weeks, since the tank model was discontinued. Mechanical processing of the new PP sheet lug was impossible due to the complex shape of the interface with the body. We proposed a solution: scan the remaining ear, create a 3D model with a reinforced internal structure, and print a replacement from chemical-resistant polypropylene. The process took 3 days: a day for modeling and two days for printing and post-processing. The part was installed using special hot air welding and has been successfully operating for more than a year, withstanding the vibrations of pumping equipment.
Case 2: Manufacturing adapters for level sensors of non-standard diameter.
In the electroplating shop, it was necessary to install new acid level sensors in old tanks. The mounting holes in the tank covers had a diameter of 42 mm, and the thread on the new sensors was G1.5″ (approximately 48 mm). There were no standard adapters of this size, and drilling a hole in the tank lid was prohibited by safety regulations. The solution was found in 3D printing of adapter bushings. We designed the part with an external tapered surface for a tight fit in the 42mm hole and internal threads for the sensor. Thanks to the ability to vary the wall thickness in different areas of the part, we were able to provide the necessary tightness without using additional seals that could be corroded by acid. The cost of one of these bushings was less than $15, whereas a custom turning batch from a third-party contractor would have cost $150 each.
Another important aspect is the customization of internal components. Bioreactors and mixing vessels often require specifically shaped agitators or flow guides to optimize hydrodynamics. 3D printing allows you to create elements with complex blade geometry that cannot be obtained by milling. This improves mixing efficiency by 15–20% compared to standard flat mixers.
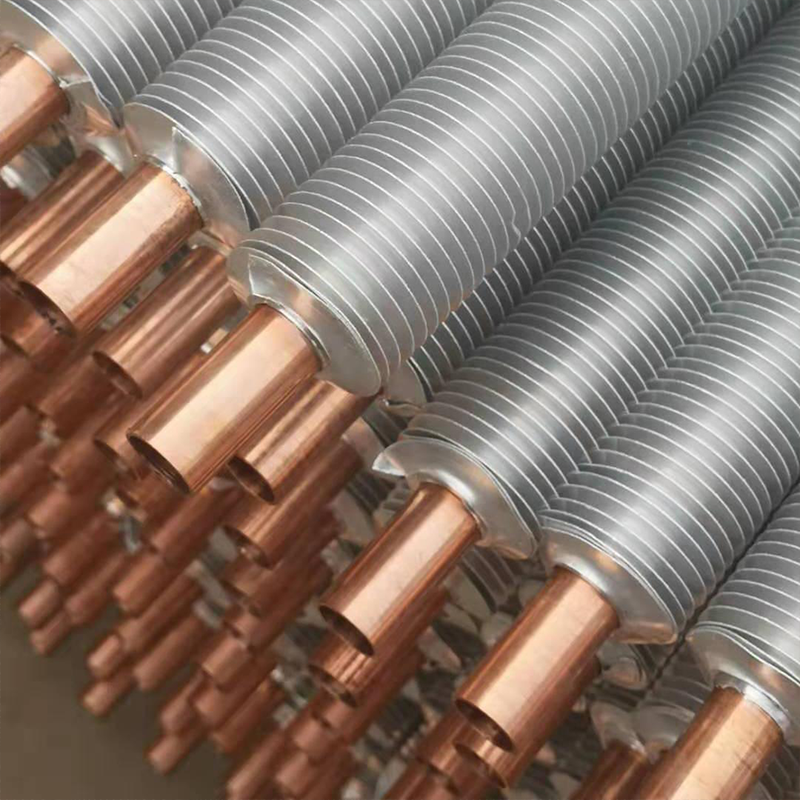
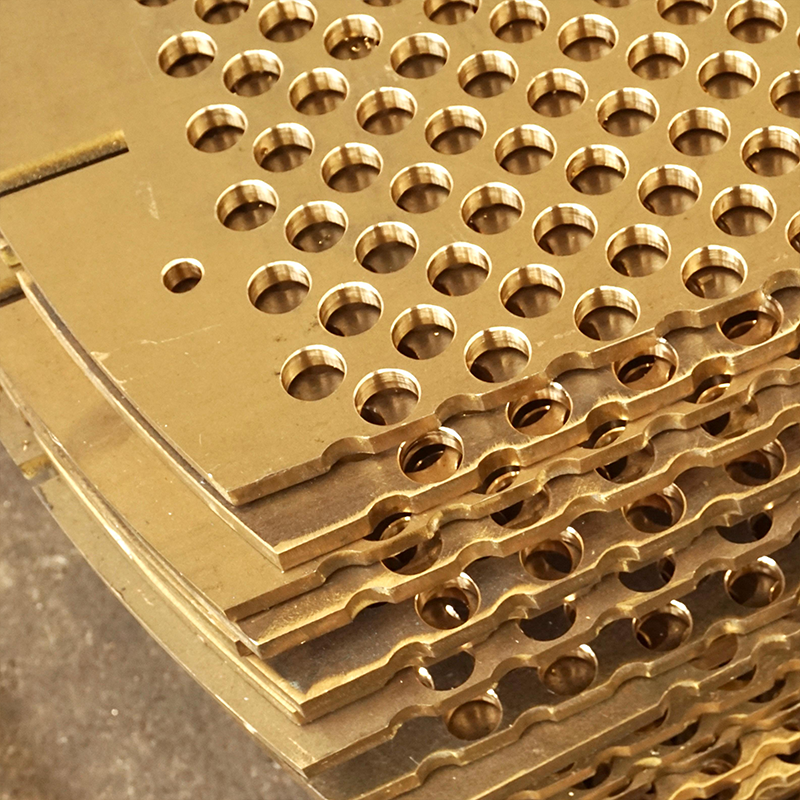
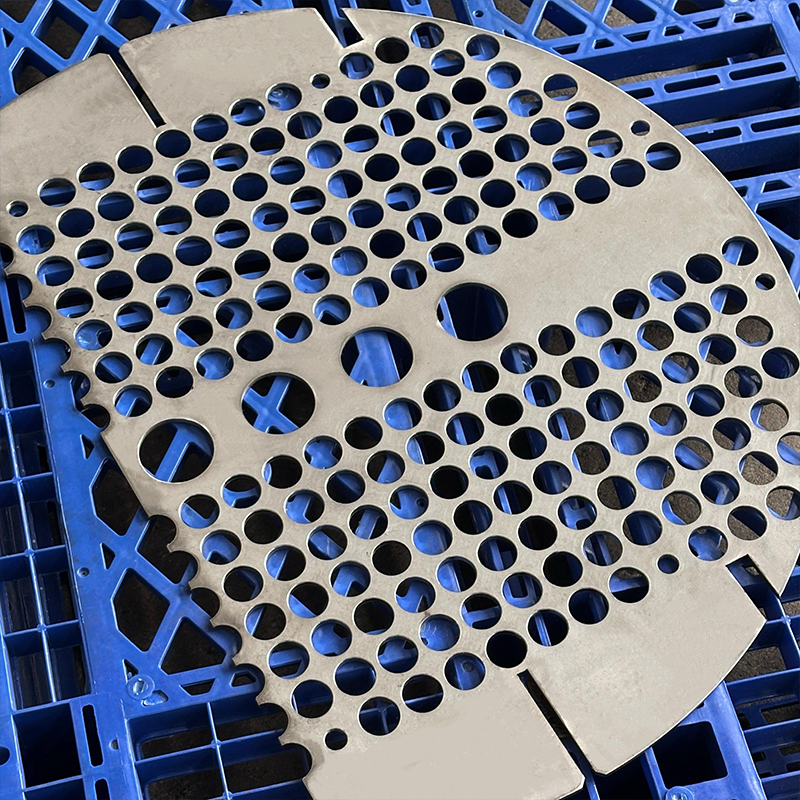
Similar tasks often arise in the context of the modernization of large industrial complexes. For example, a companyWuxi Kaisheng Electric Power and Petrochemical Equipment Co., Ltd., which specializes in the design and manufacture of high-pressure heat exchangers (including titanium shell-and-tube units and N06625 alloy bundles), regularly faces the need to adapt auxiliary components to the unique requirements of oil refining and seawater desalination projects. Although the company's main production focuses on ASME and PED certified metal structures, the use of 3D printing from polypropylene allows it to quickly produce 耐腐蚀 (corrosion-resistant) plugs, adapters and protective elements for piping heat exchange equipment operating in aggressive environments. This hybrid approach—combining the power of heavy engineering and the flexibility of additive manufacturing—provides customers with end-to-end solutions where every component, from C46400 brass tubesheet to plastic fitting, is perfectly tailored to the application.
Guidance on sealing and post-processing of printed parts
The main fear customers have when using 3D printing for tanks is leakage. The layered structure does create potential pathways for liquid penetration, especially if the part is operating under pressure or vacuum. To turn a porous workpiece into a sealed unit, it is necessary to follow a strict algorithm of actions. Below are the steps we use in our production to ensure quality.
- Optimization of slicing parameters.
The first step is taken before printing even begins. In the slicer settings, you need to increase the number of perimeters (walls) to 4–5 pieces. It is the outer walls that are responsible for the tightness, and the inner filling (infill) bears only the mechanical load. The wall thickness must be a multiple of the nozzle diameter (for example, with a 0.4 mm nozzle, the wall thickness is 1.6 mm or 2.0 mm). It is also critical to set the line overlap to 15–20%. This ensures that adjacent tracks of plastic will fuse into a monolith without leaving microscopic gaps. - Temperature and speed control.
As mentioned earlier, high extrusion temperature promotes better diffusion of polymer chains between layers. For PP this means working at the upper end of the material's temperature range (235-240°C). The printing speed should be reduced to 25 mm/s. Slow extrusion gives the plastic more time to cool in a controlled manner and improves adhesion to the previous layer. Ignoring this rule is the most common reason for the appearance of fistulas in parts. - Chemical solvent welding.
If the part has a complex shape and the risk of leakage is high, we use a chemical post-processing method. The surface of the part is treated with a special compound based on xylene or other solvents suitable for polypropylene (care and compatibility check required!). The solvent slightly melts the outer layer, “smoothing out” the pores and creating a smooth, impenetrable film. This method is effective for external surfaces, but requires good ventilation and safety precautions. - Application of sealing coatings.
For parts in contact with food or particularly aggressive environments where chemical treatment is unacceptable, a thin layer of epoxy resins or specialized polyurethane coatings that are resistant to this type of chemical is used. The coating fills all micro-irregularities of the surface. It is important to choose a coating that has a coefficient of thermal expansion close to polypropylene, otherwise the coating will peel off when the tank heats up. - Hydraulic tests.
No part should be installed on the tank without first being tested. We carry out pressure testing at 25% above operating pressure for 24 hours. To visually control leaks, the part is painted on the outside with a water-based marker: even minimal leakage of liquid will immediately appear as a change in the color of the spot. Only after successfully passing the test is the part considered ready for shipment.
Please note: trying to save money in post-processing often leads to disaster. One of our clients skipped the hydrotesting stage of a batch of fittings, and when the system was first commissioned, three of the ten parts leaked in the first hours of operation, causing corrosion of the floor support structures. Don't repeat this mistake.
Economic justification and calculation of the payback of implementing 3D printing
Introduction of technology3D printing of parts for PP tanksrequires not only technical knowledge, but also a clear understanding of the economics of the process. Many managers mistakenly compare the cost per gram of filament to the cost per gram of the finished sheet product, without taking into account indirect costs. Let's look at the real cost structure.
The cost of raw materials (PP filament) is approximately $30–50 per kg. The weight of an average part (such as a flange or adapter) rarely exceeds 200 grams, giving a direct material cost of about $6–10. To this you need to add equipment depreciation (about $2-3 per hour of printing) and electricity. In total, the cost of a complex part rarely exceeds $20–25. For comparison, the minimum order for turning a similar part from a third-party contractor usually starts from $100–150 due to the cost of machine setup time and programming.
However, the main savings lie not in the price of the part, but in the reduction of downtime. In industry, an hour of line downtime due to the lack of a small spare part can cost thousands of dollars. If the 3D printer is located directly at the enterprise or at a local service, the waiting time is reduced from weeks to days. The return on investment (ROI) calculation for a custom printer in this scenario is often less than 3-4 months. It is enough to save one critical situation for the equipment to pay for itself.
There are also logistics to consider. Heavy and bulky polypropylene parts are expensive to transport. On-site printing eliminates shipping costs and the risk of damage during delivery. In addition, digital model storage allows you to create a “virtual warehouse” of inventory: instead of storing physical parts that can get lost or damaged, you store files that can be printed at any time.
However, there are limitations. If you need thousands of identical simple washers, 3D printing will be unprofitable. The profitability threshold usually lies in the region of 50–100 pieces for parts of medium complexity. Below this threshold, additive technology has no competition.
Frequently Asked Questions
What is the maximum operating temperature for parts printed with polypropylene?
The maximum short-term operating temperature for the PP homopolymer is about +100...+105°C, and for the PP-R copolymer - up to +95°C at constant pressure. However, it is important to understand that at temperatures above +80°C the mechanical strength of polypropylene begins to decrease significantly. In our practice, we do not recommend using 3D printed parts under load at temperatures above +70°C without an additional safety margin (increasing wall thickness by 30–40%). If your environment is heated to boiling, be sure to perform creep tests on the material under specific operating conditions.
Can 3D printed parts be welded to a PP sheet tank body?
Yes, this is possible and is standard practice. Since the material is identical (polypropylene), the 3D printed part is perfectly welded to PP sheet by extrusion welding or hot air. The main condition is cleanliness of surfaces. Before welding, it is necessary to remove possible contamination (dust, oils from hands) from the printed part and lightly clean the joint. We recommend making a structural gap of 0.5–1 mm between the part and the tank wall to form a full-fledged weld seam (fillet). Direct butt contact without cutting edges can result in a weak connection.
What percentage of infill is required for sealed parts?
To ensure tightness, the filling percentage itself does not play a decisive role, since the liquid is retained by the outer perimeters (walls). However, for pressure or vacuum parts, we recommend at least 40-60% infill with a Grid or Cubic pattern. This prevents the walls from collapsing inward under load. If the part operates only by draining (gravity flow) and without pressure, 20% filling is sufficient to save material and time, provided there are at least 4–5 external perimeters.
Are printed parts susceptible to UV degradation?
Basic polypropylene is sensitive to ultraviolet radiation and becomes brittle when exposed to direct sunlight for long periods of time. If the tank or its components will be located outdoors, it is necessary to use filament with UV stabilizers (often labeled as PP UV-resistant) or apply a protective paint coating. Without protection, the service life of a part in open sun can be reduced from 10 years to 1–2 years. In enclosed spaces and inside tanks (where there is no light), this factor does not matter.
Are there safety certifications for food contact?
The polypropylene material itself is certified for contact with food (FDA standards, EU 10/2011). However, the certificate applies to raw materials (pellets). A finished 3D printed product only achieves food-grade status if certain printing conditions are met: using a clean nozzle (no traces of other plastics), printing in a clean environment, and being free of porosity where bacteria can grow. Official certification of the final product in the food industry often requires additional laboratory tests of a specific batch of products for migration of substances.
Conclusion and recommendations for choosing a service provider
Technology3D printing of parts for PP tankshas moved from the experimental stage to the category of reliable industrial tools. It allows you to solve problems that were previously either too expensive or technically impossible to accomplish in a short time. The key to success lies not in the printer itself, but in the competence of the operator who understands the physics of the polypropylene crystallization process and knows how to adjust the parameters for a specific task.
If you are planning to introduce this technology in your production or order a batch of parts, pay attention to whether the contractor has experience working specifically with engineering plastics, and not just with decorative models. Request samples of test seals and hydraulic test reports. Don't be shy about asking about post-processing: the finished part should look and function like a cast product, not a rough prototype.
We are ready to help you implement projects of any complexity: from single repairs to small-scale production of fittings. Our specialists will analyze your 3D model, suggest the optimal orientation of the part for maximum strength, and calculate the exact cost. Contact us today to discuss your project and obtain advice from a process engineer.
For more information about materials and quality standards, visit our sectiontechnical documentation for polypropyleneor check out examples of completed projects in the galleryrepair of industrial equipment.